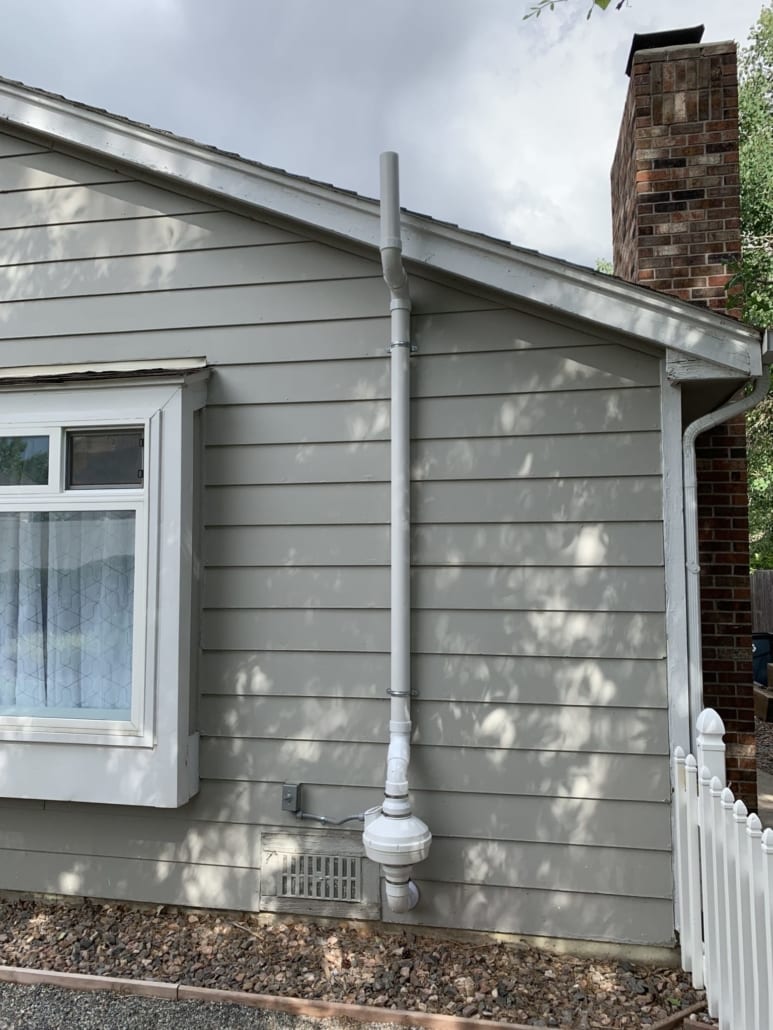
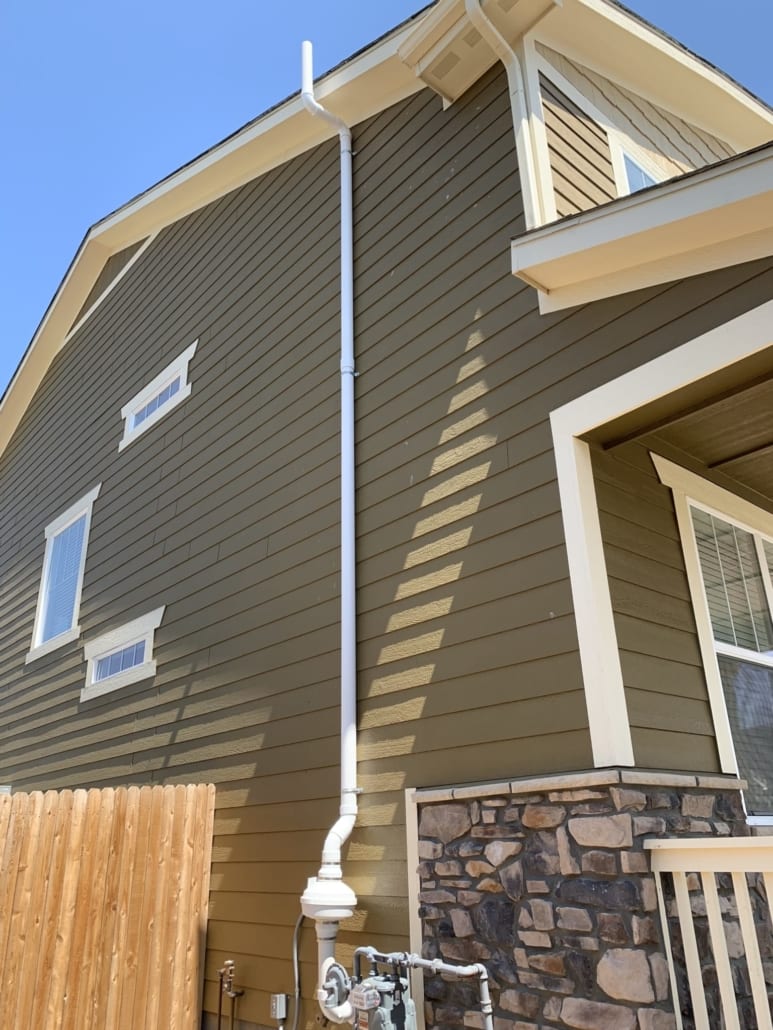
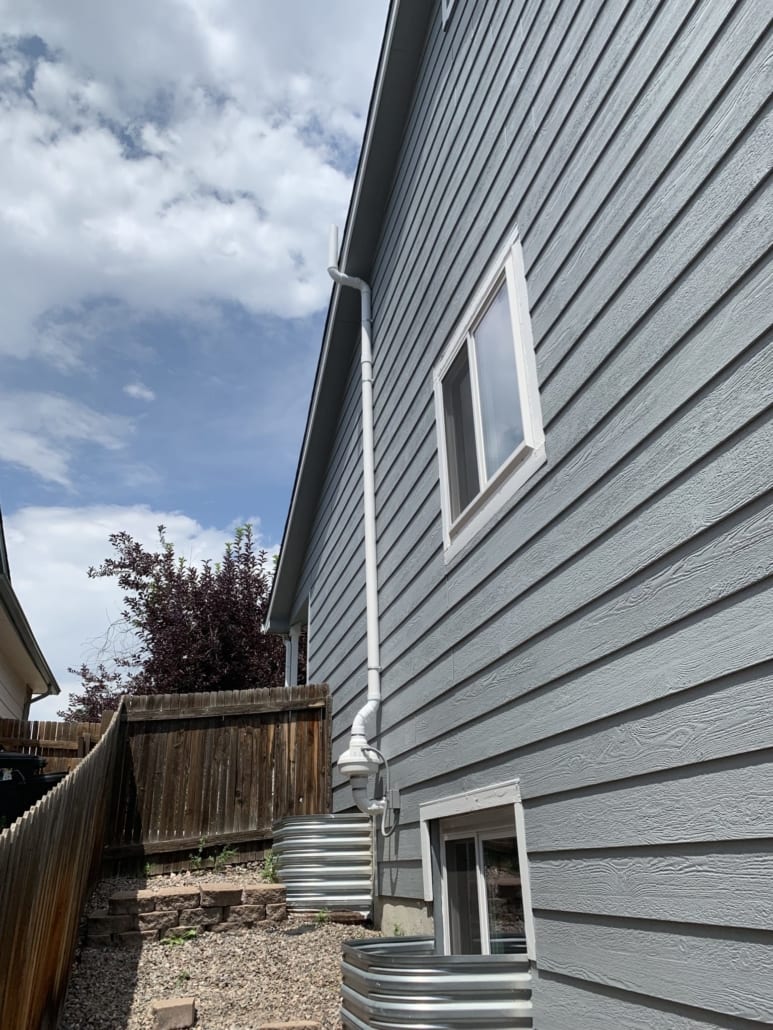
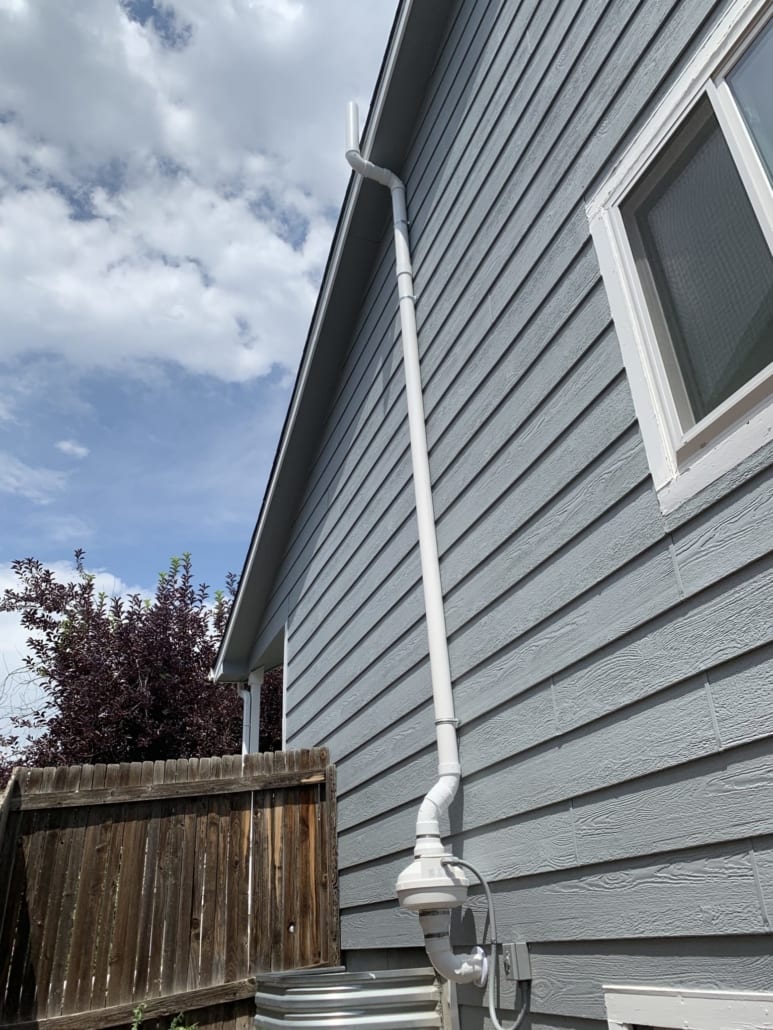
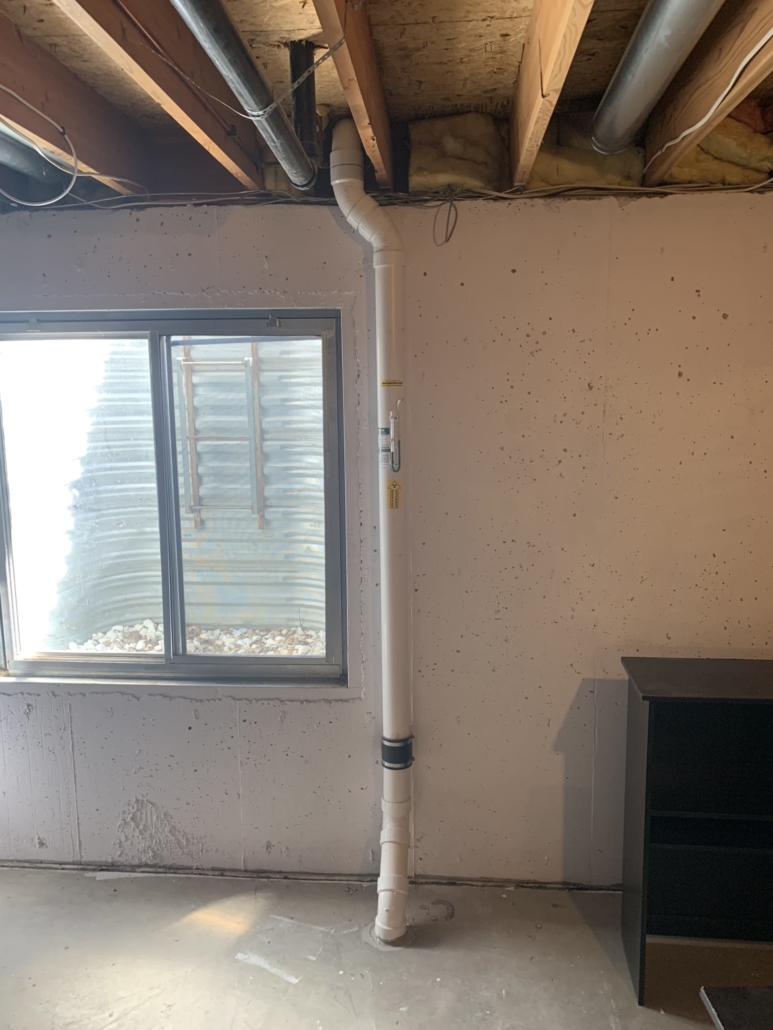
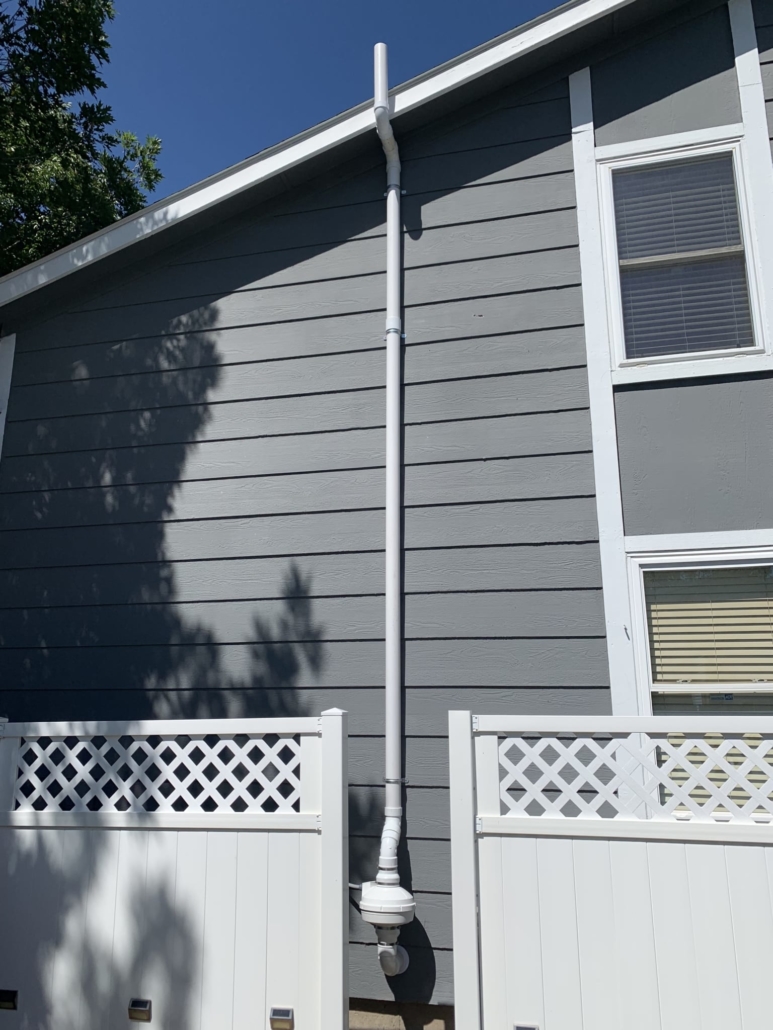
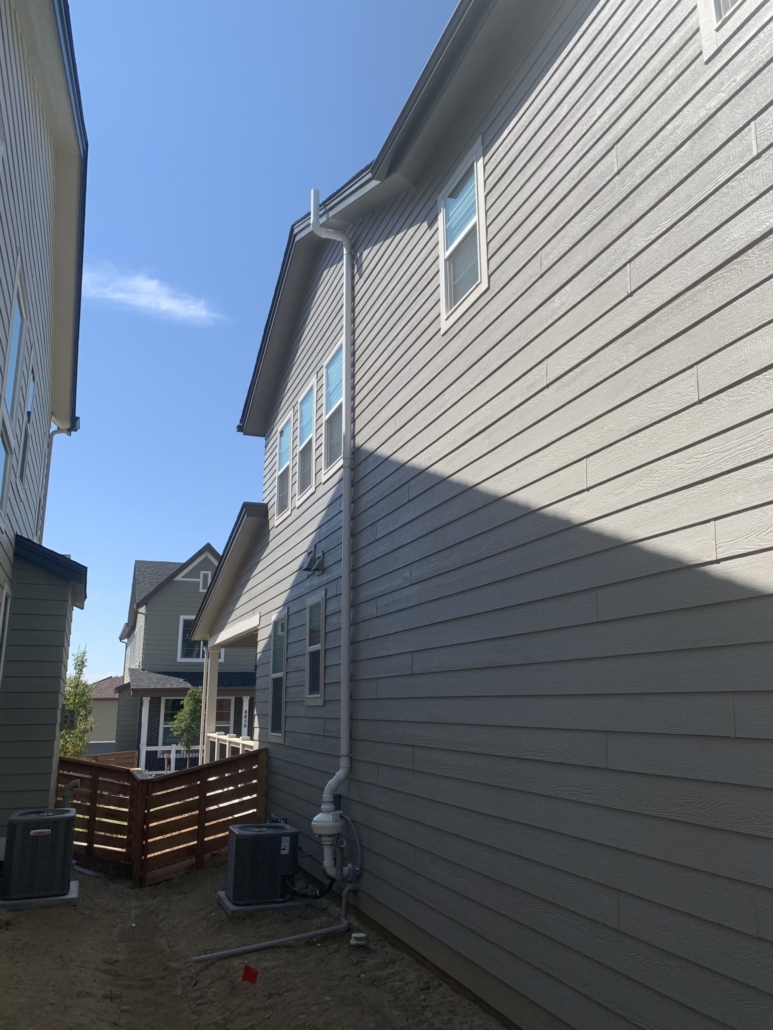
What is sub-slab depressurization? This is a common question The Colorado Radon Pros get asked each and every day. The simple answer is that in many cases, sub-slab depressurization is the same as radon mitigation, radon remediation, radon abatement, or radon reduction. The more advanced answer is that sub-slab depressurization systems create negative pressure under the slab, in order to overcome barometric pressure changes in the atmosphere, and ultimately draw the soil gases out from beneath the home before these soil gases have a chance to enter the home in the first place. Sub-slab depressurization, and active soil depressurization in general, are considered by radon mitigation professionals to be the most effective way of mitigating radon gas from a home or commercial property. The reason sub-slab depressurization is so widely respected and effective is because this radon mitigation process stops the radon gas before it has a chance to enter the structure and most other processes remove the toxic gas after it has already entered the structure.
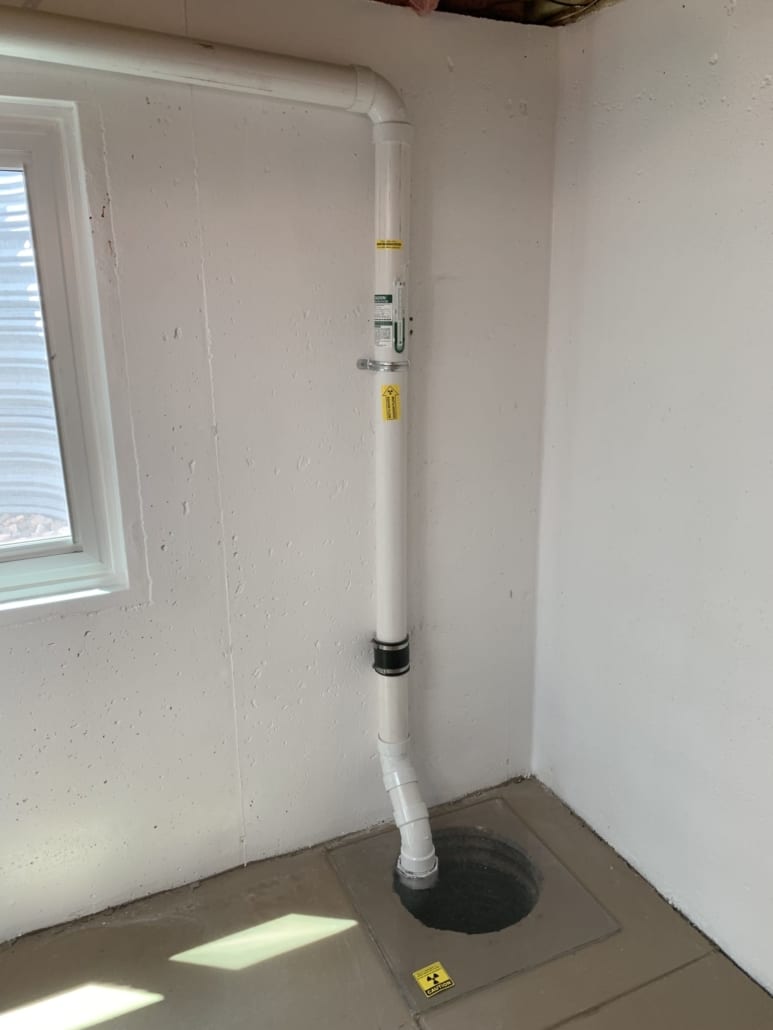
Sub-slab depressurization is a fairly simple concept. However simplicity in theory is not always simplicity in realty. Sub-slab depressurization systems are a lot of work and can be time consuming, depending on the property, construction, and the soil beneath the slab. When installing a sub-slab depressurization system, the technician must first core into the slab of the home or commercial structure. Generally, this circular hole is around 4 inches in diameter. On some occasions, with larger homes and larger footprints, this access hole may be larger in diameter to account for 4-inch piping rather than 3-inch piping. Once the hole in the slab is made, the technician will physically dig out around 5 to 10 gallons of sub-slab material. Depending on what type of material is beneath the slab (gravel, clay, sand, etc.) the technician may spend around 30 minutes to an hour on this portion of the radon system install. Many times, if the soil consistency is loose enough, the radon technician will chip and dig the soil out to further loosen it and then suck the soil up into their shop vacuum for ease and cleanliness. The important part to remember is that because this hole is only 4-inches in diameter, and the pit beneath the slab needs to be the size of a 5-10 gallon bucket, the technician must physically dig with their hands to accomplish this task. Unfortunately, there is no tool available to ease this process and it is physically taxing.
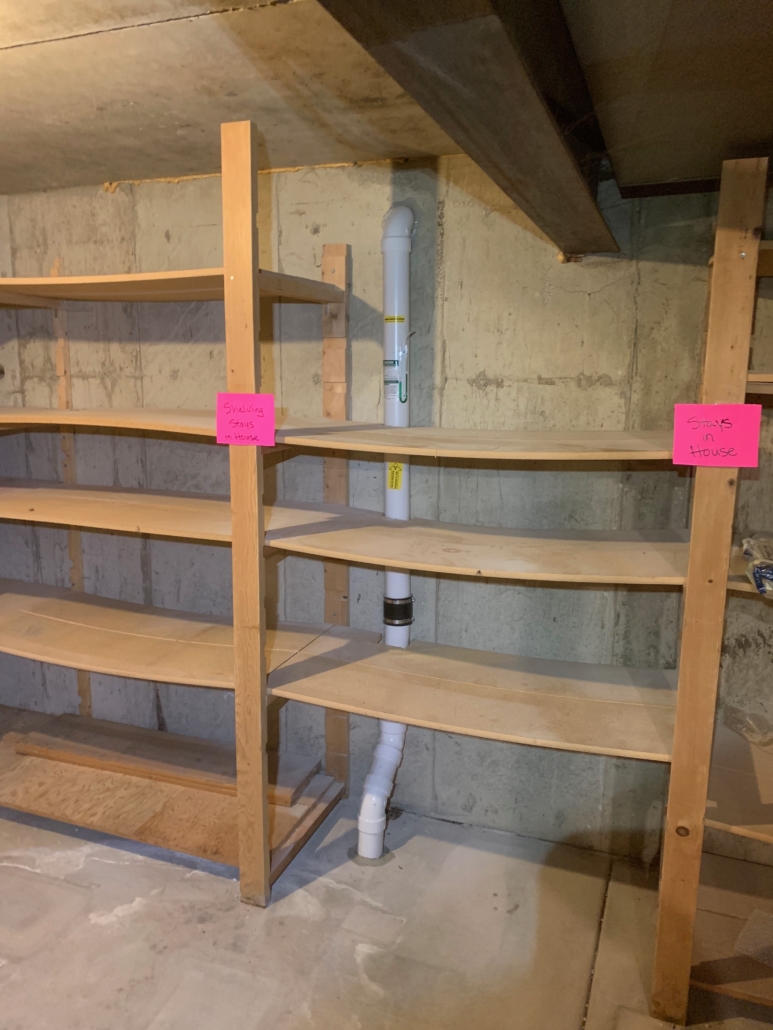
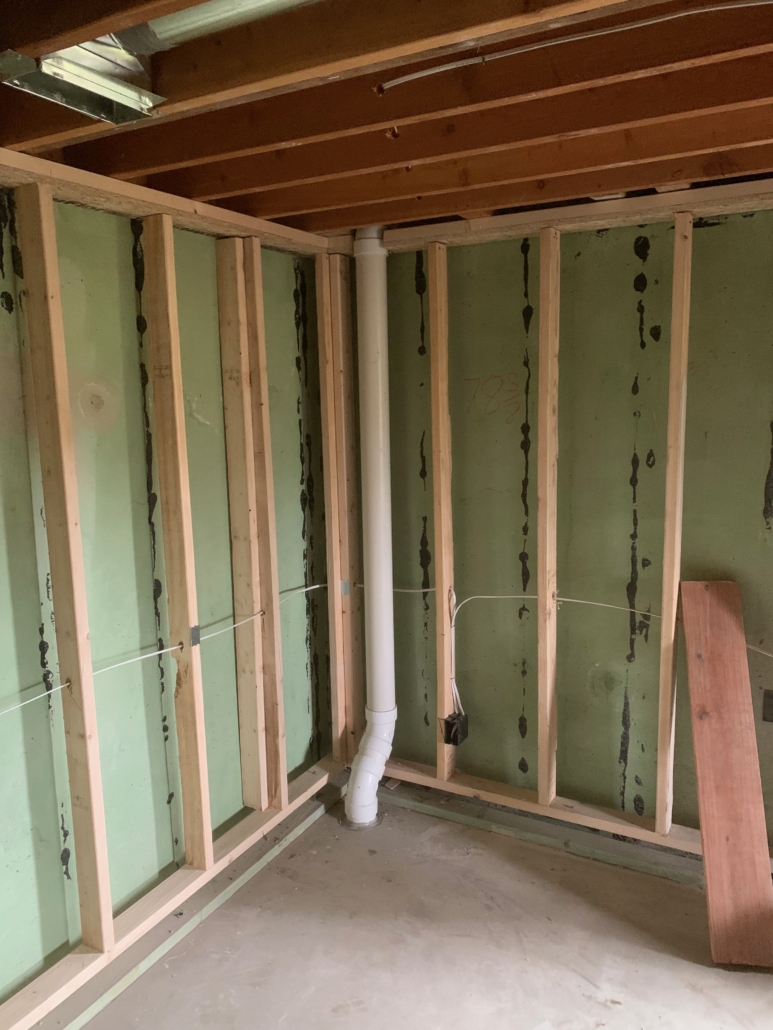
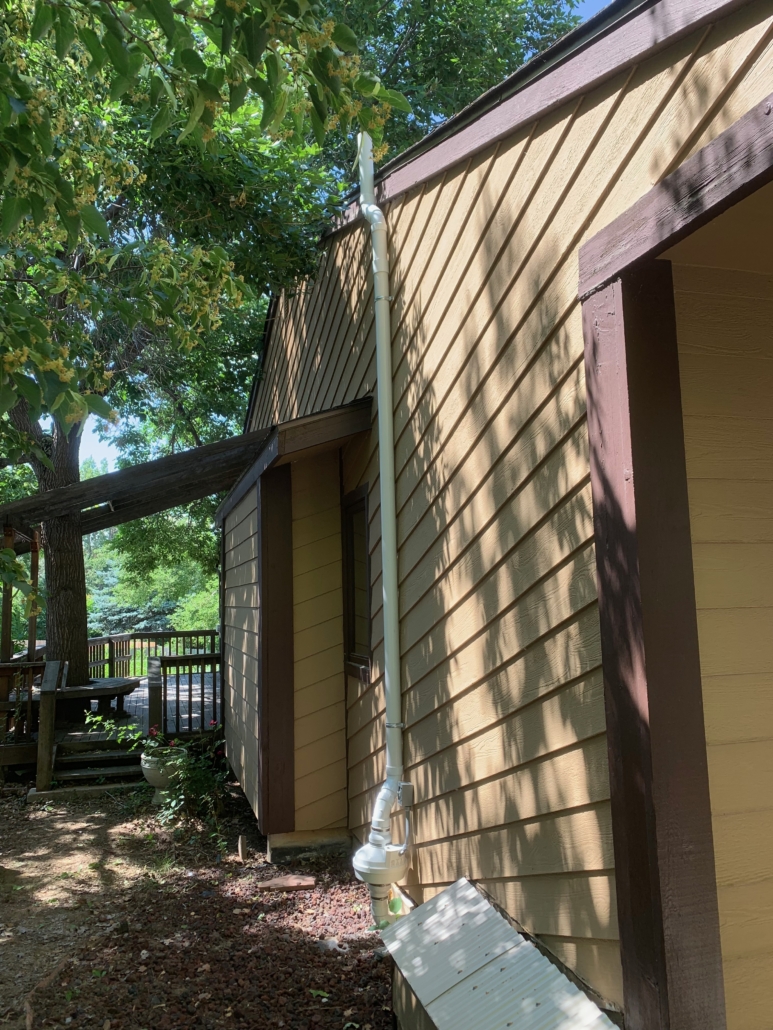
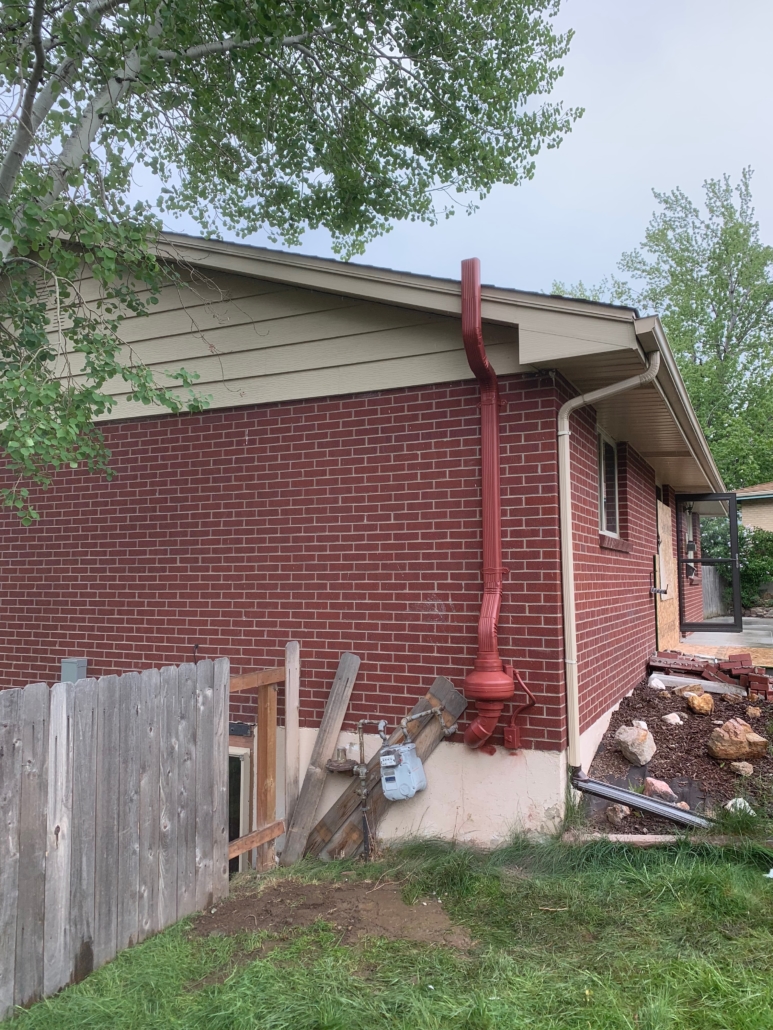
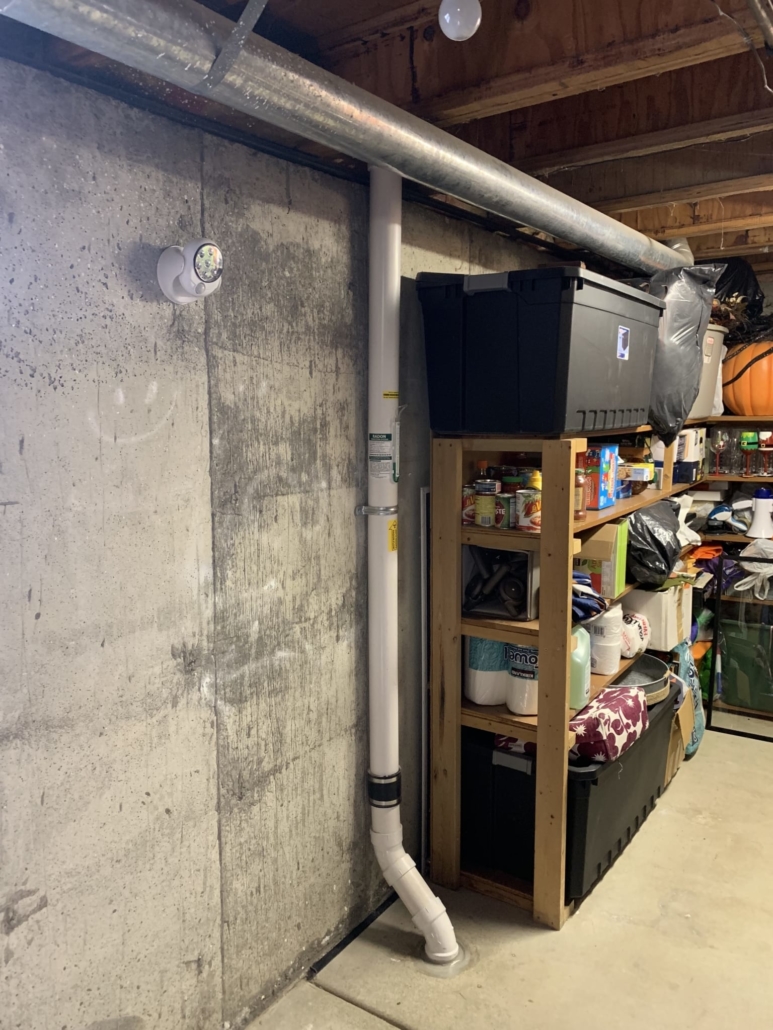
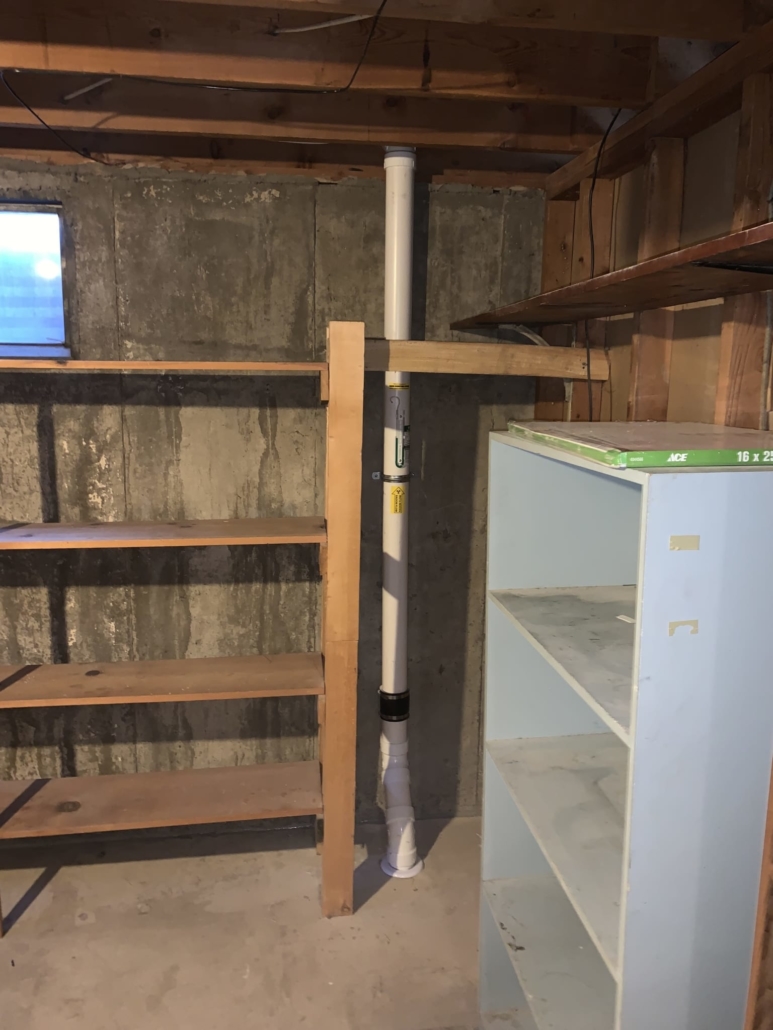
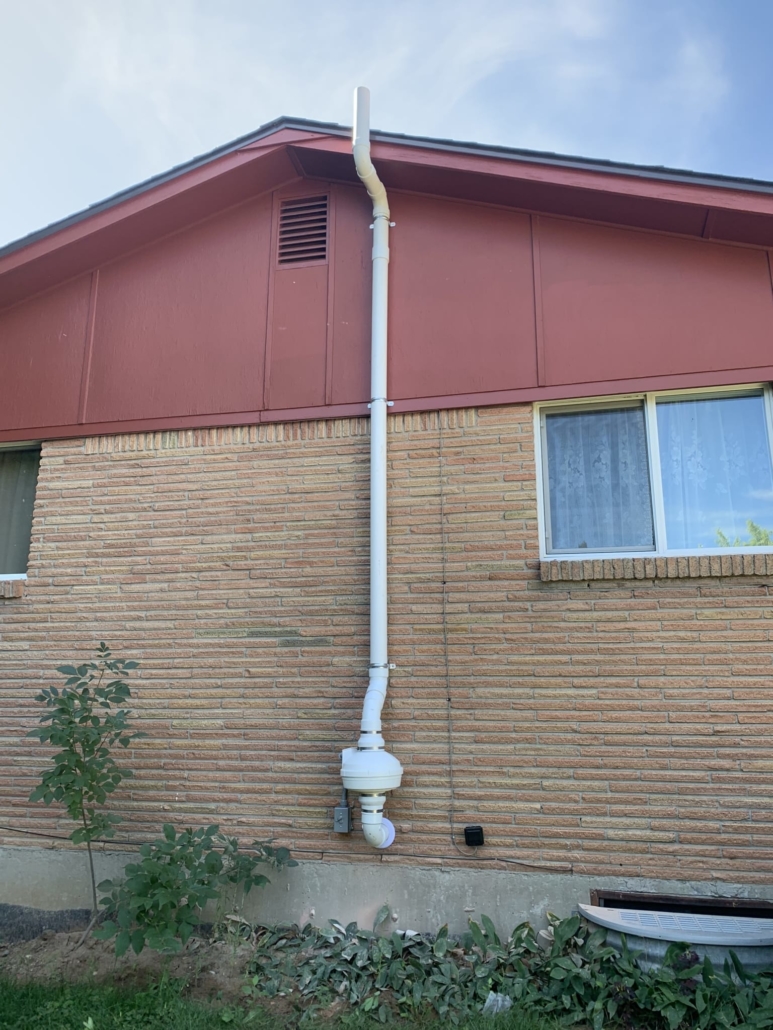
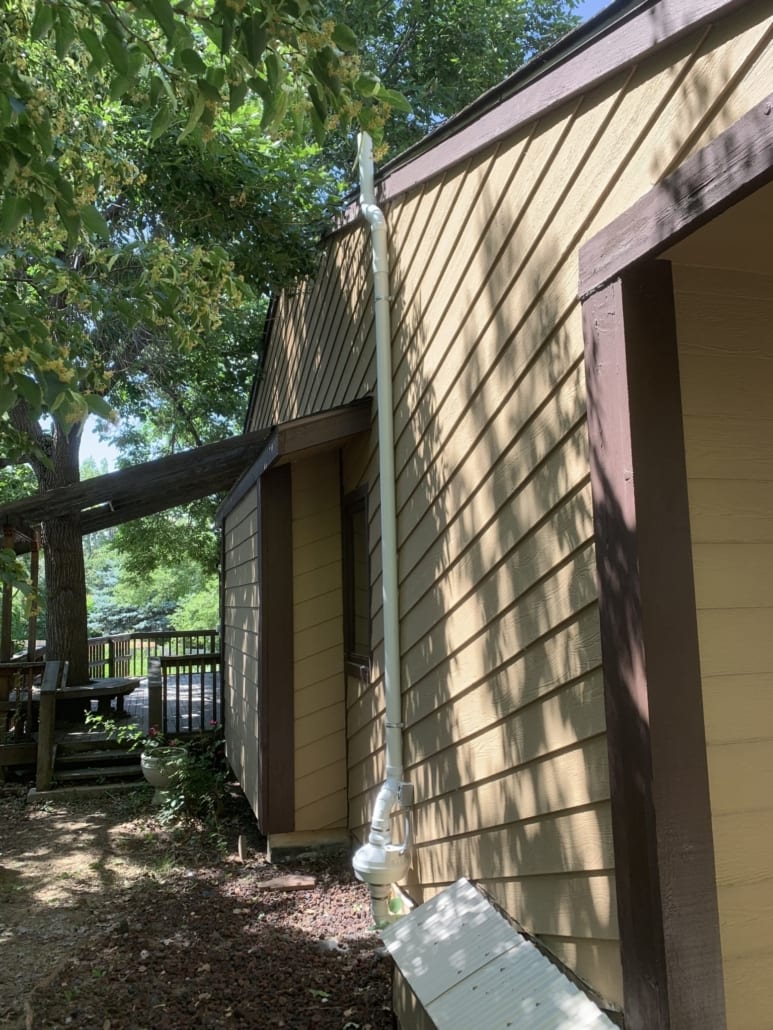
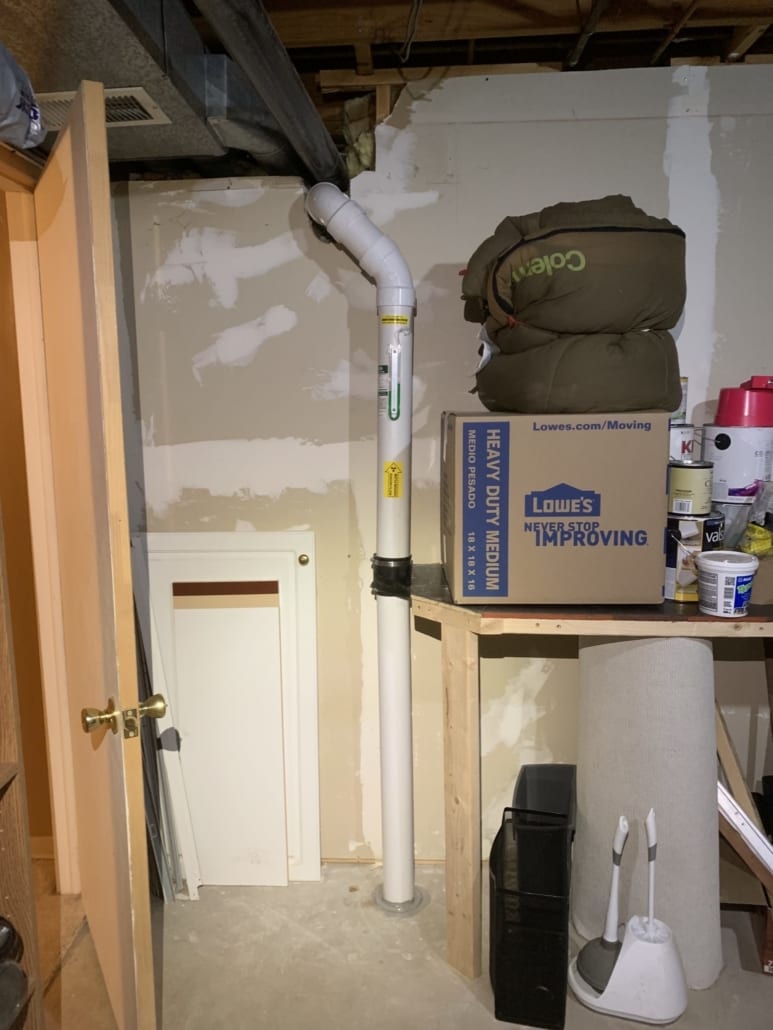
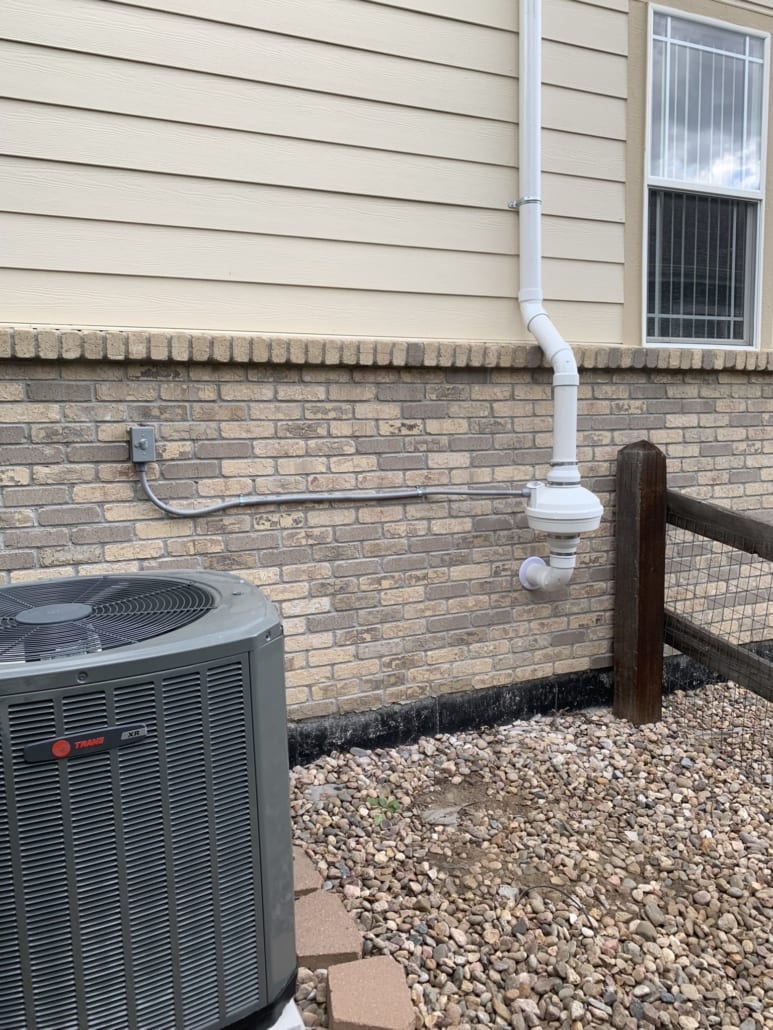
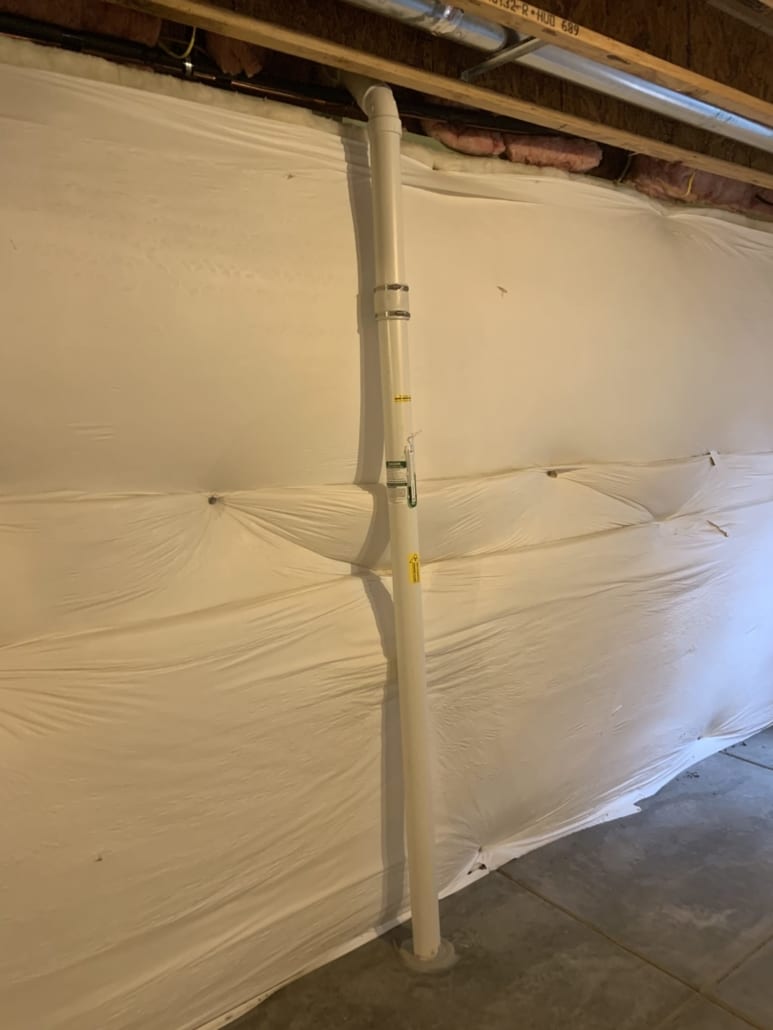
Once the hole is cored into the slab and the suction-pit beneath the slab is created, it is time to run the piping. In most cases, the piping will start in that suction pit and continue up the wall and out of the structure through the rim-joist. Once the piping is through the joist and to the exterior or garage of the property, that piping must extend up and vent above the roofline per EPA and NRPP standards. In most cases, outside radon mitigation systems and garage-style systems are most common. However, sometimes we will run the piping through closets and up into attic spaces for better aesthetics and to make the system more discrete. Depending on the structure, we are happy to work with homeowners and their ideas to provide both exceptional service and the finest quality workmanship.

